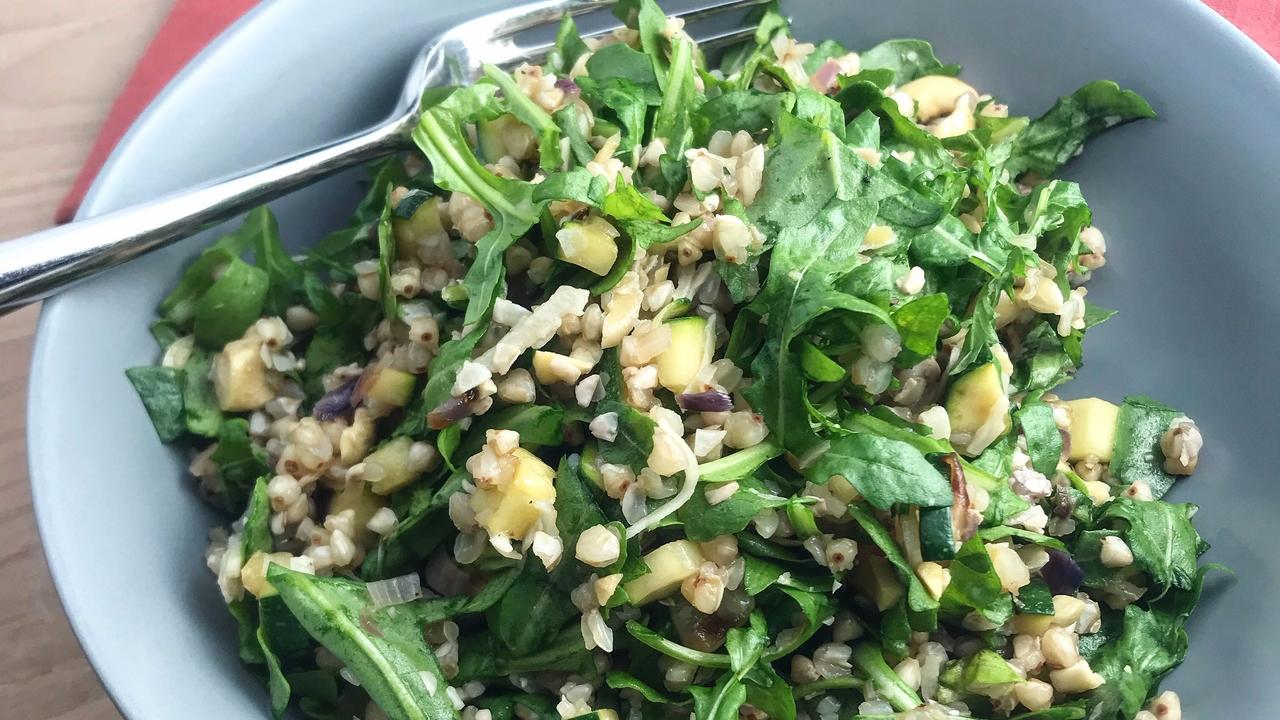
Thai Buckwheat Salad with Arugula, Coconut & Cashews

This meal is delicious! It makes a wonderful make-ahead-and-take-to-work lunch, as well as a crowd pleasing potluck dish (if you double it).
You can choose to go heavier on the greens and make it more like a traditional salad, or stick to the recipe and keep the ratio of buckwheat to arugula more even. I've made it both ways, and they are equally fantastic -- it just depends on your taste and your mood.
In the past, I've also swapped kale in place of arugula, and I've added diced pineapple, which makes a flavorful, refreshing addition in keeping with the Thai inspired theme.
You could also stretch it further by adding chopped broccoli, red bell pepper, mushrooms and/or any other ingredient you might find in a vegetable stir fry at a Thai restaurant. All of these flavors meld together perfectly.
There's one trick to this recipe: Cooking the buckwheat groats so that they remain al dente and don't get mushy. I'll explain the technique in detail below -- be sure to follow it to the letter!
One more note: Buckwheat is not wheat at all. In fact, it's gluten-free. It's actually the seed of a plant related to rhubarb, and it's packed with plant-based protein.
Ingredients:
- 1 cup buckwheat groats
- 3 cups water
- 1 tsp. coconut oil
- ½ red onion, diced small
- 2 cloves garlic, minced
- 2 Tbsp fresh ginger, peeled and minced
- ½ zucchini, diced small
- 3 cups arugula, washed and roughly chopped
- 1.5 Tbsp lemon or lime juice
- 1.5 Tbsp nama shoyu, low-sodium soy sauce or coconut aminos (GF)
- 1.5 Tbsp rice vinegar
- ¼ cup shredded, unsweetened coconut
- ⅓ cup raw cashews, chopped
- Ground black pepper, to taste
- Dash of cayenne pepper, to taste
- Sea salt, to taste
Instructions:
1. Before you begin, measure out your buckwheat groats and place them in a bowl.

2. Cover the buckwheat with water.

3. Let the buckwheat soak for about a half hour. Don't be alarmed if the water looks very dirty. This is why we're soaking it for a little while. We want to remove any dirt, as well as the enzyme inhibitors that are a natural part of the seeds.

4. While the buckwheat soaks, this would be the perfect time to prepare your veggies. Dice the half onion, mince the garlic and ginger, and chop the half zucchini, as well as any other veggies you'd like to add to the dish (see the opening paragraphs above for suggestions).

5. When the buckwheat has soaked for about a half hour, drain and rinse it several times until the rinse water runs clear. Drain it one final time.

6. Start a pot of water boiling on the stove with 3 cups of water.
7. When the water in the pot comes to a boil, add the drained buckwheat to the pot. Let it return to a boil, reduce the heat to medium, and then set a timer for 8 minutes. Keep a close eye on the pot, and stir it occasionally. You may have to turn down the heat some more, as the starch in the buckwheat tends to create a foam that sometimes boils over the edges of the pot.
Important note: Do not simmer the buckwheat longer than 8 minutes, or it will become mushy and unappetizing.

8. While the buckwheat simmers, heat 1 tsp of coconut oil over medium-high heat in a saucepan. Add the diced onion, sprinkle it with a little bit of sea salt (optional) and sauté it until it begins to soften.

9. When the buckwheat is done cooking (taste it first just to be sure, but it shouldn't take longer than 8 minutes), strain the cooking water out through a colander, and then rinse the buckwheat with cool water to stop it from cooking any further. Set aside.

10. Returning to the frying pan, when the onion is soft, add the garlic, ginger and zucchini.
Note: If you're using additional veggies in this recipe, add those with the garlic and ginger, and add the zucchini a few minutes later, in order to give longer-cooking veggies like red pepper and broccoli a little extra time in the pan. Mushrooms (if using) can go in with the zucchini.

11. Stir to combine and continue stirring occasionally for a few minutes, until the zucchini is cooked just enough to take off the raw edge.

12. While the veggies are sautéing, you can wash and chop the arugula and chop the raw cashews.

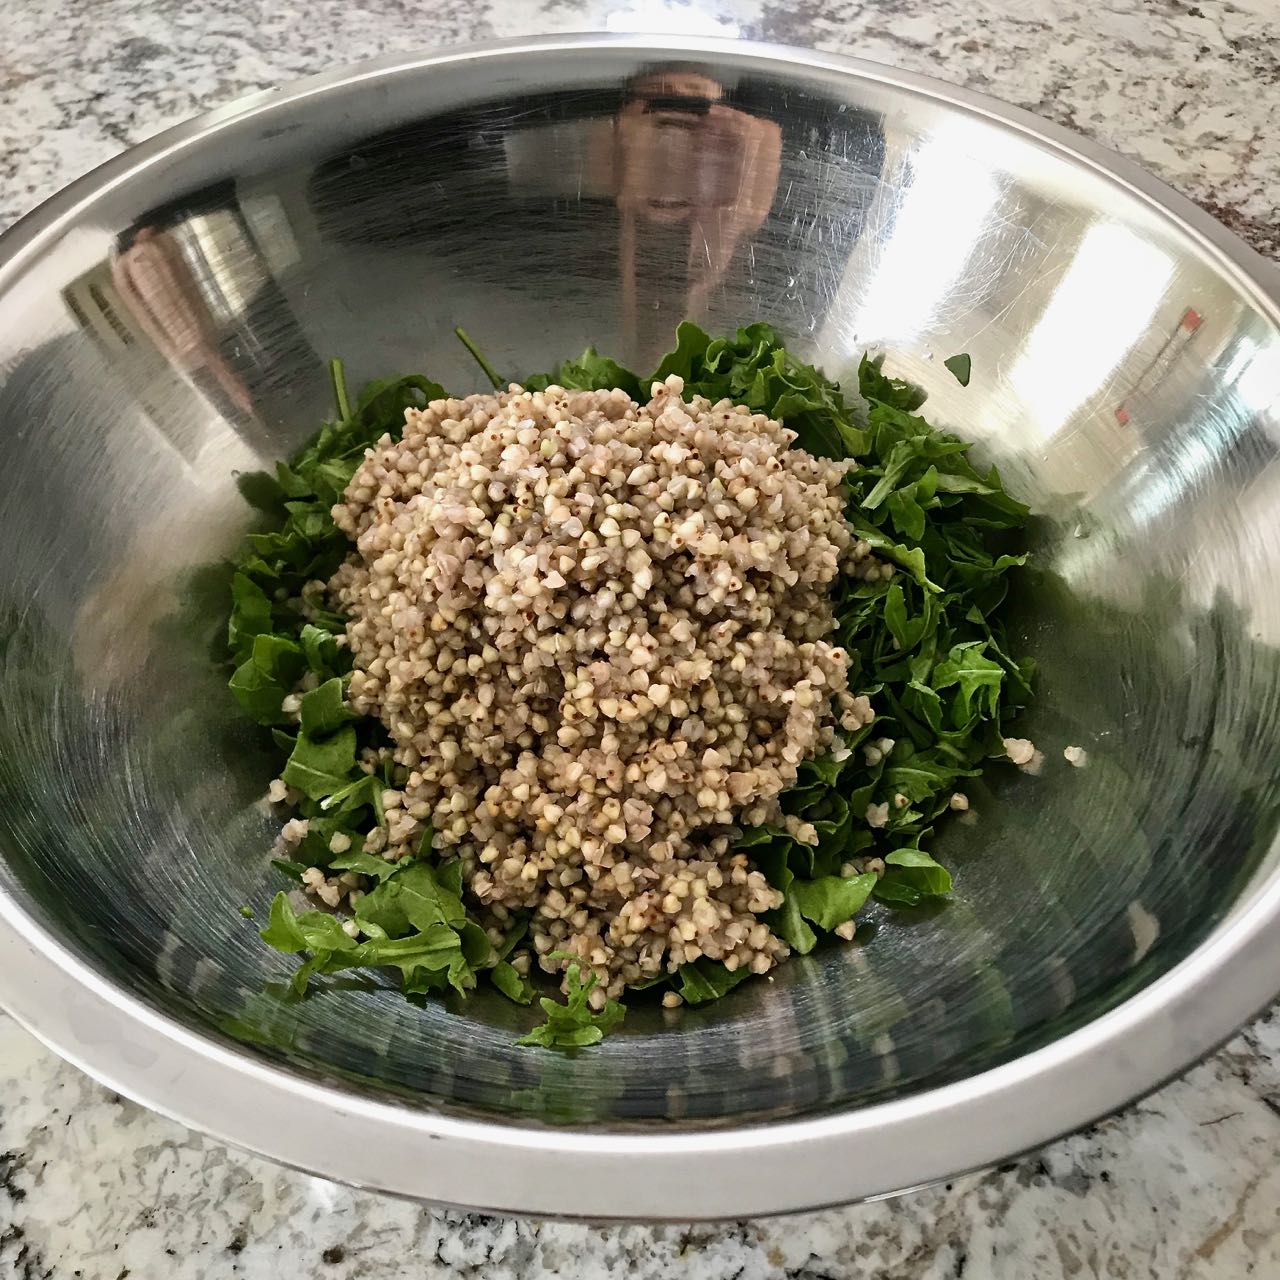
13. Transfer the arugula to a large mixing bowl, and then add the cooked buckwheat you set aside earlier.

14. Drizzle the buckwheat and arugula with the lemon or lime juice, the nama shoyu or soy sauce or coconut aminos, and the rice vinegar. Stir to combine. Then, add the shredded coconut, black pepper, and dash of cayenne (optional). Stir again.

15. Next, add the sautéed veggies.

16. And finally, add the chopped cashews.

16. Stir everything together to combine. Taste and adjust the seasoning as you see fit. You may want to add a little more of each of the flavorings -- lemon/lime juice, soy sauce/coconut aminos, and rice vinegar. If you do, try to add them in equal proportion.
You could also sprinkle the dish with a little more salt and pepper to taste, as well.

17. And that's it... Your salad is all ready. Serve and enjoy!

You can also store this salad in an airtight container and keep it in the fridge to eat another time. It makes a great dish to take to work for lunch, and an excellent contribution to a potluck or picnic, if you double it.


